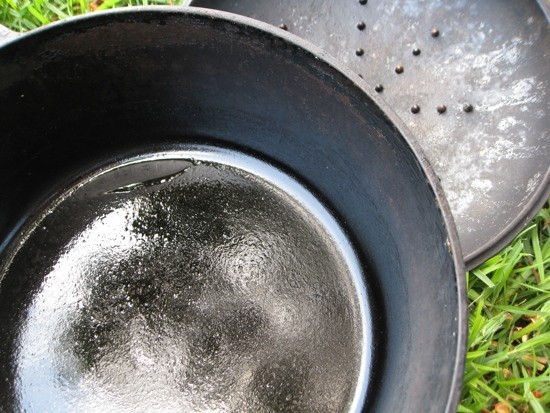
Recently, I inherited a cast iron dutch oven from the 1950's with an impeccably seasoned interior. Decades of care built up a smooth, black, hard surface that's as non-stick as any modern surface treatment.
Those cast iron and plain carbon steel pans so common in great-grandmother's day aren't as sexy in today's marketplace filled with multi-ply clad cookware and enameled cast iron endorsed by celebrity chefs. I suspect it's because they require more care. In terms of cooking performance, cast iron and heavy-gauge carbon-steel pans still hold their own and are preferable to many other materials. As a side benefit, your food will pick up dietary iron naturally as it cooks.
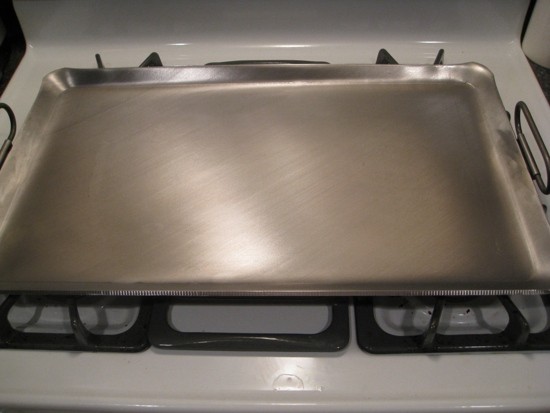
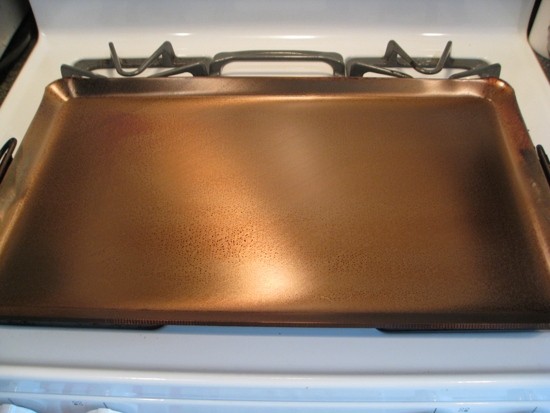
This week, we talk about how to create that non-stick, durable finish. This procedure works with ferrous pans, and will work regardless of the shape of the cookware. In this example, I'm seasoning a carbon steel, two-burner griddle.
]
A brand new pan, even those that are polished smooth, will have open pores and microscopic ridges on its surface that trap oil and food particles. Seasoning the pan with oil will fill in those surface irregularities and create a hard, non-stick surface if done correctly.
Here's why: oils break down
(polymerize) under high heat and turn into a varnish-like substance. This applies to vegetable oils, animal fats, and even automotive motor oil. If you apply too much oil
to your pan at one time and try to season it all at once, the oil pools in one section of the pan, and turns into a thick gummy
glop. You wouldn't try to roll paint onto a wall in one, thick coat without expecting runs and drips and a poor finish, would you?
.
A better way to take advantage of oil's tendency to harden as it heats: apply many thin
layers of oil, letting each coat harden fully before building onto it
with the next.
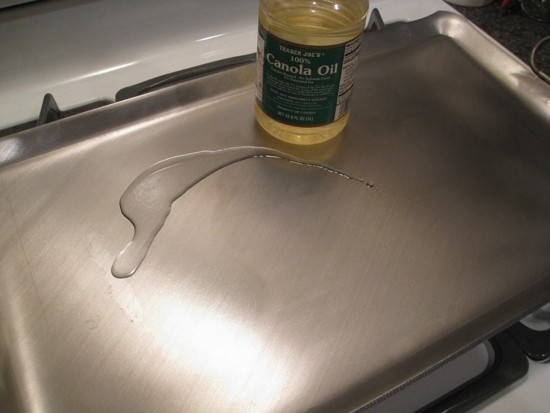
The somewhat OCD way I recommend for guaranteed results: rub canola oil
onto the pan with your hand, and wipe off almost all of it with a paper
towel. It's really the thinnest hint of oil, not even a wet coating, per se.
Place the pot or skillet inverted in a cold oven so any excess oil will run out of the cooking surface.
Set the oven to 400F
(above the smoke point of most vegetable oils). Leave the oven on for an hour, then shut it off
and leave the pan in there while the oven cools.
Repeat every day for a week. At the end of that process, you'll have a
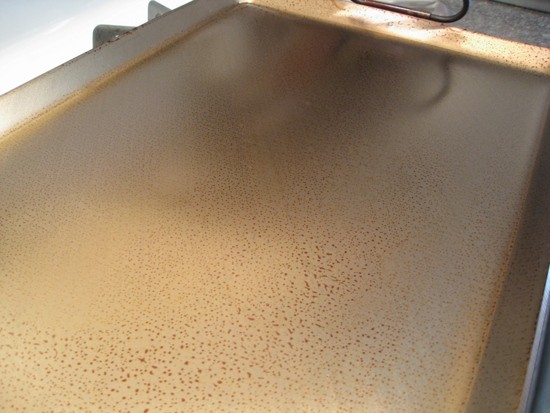
hard, durable seasoned surface that's ready to cook with. When you you apply high heat to the pan on your stovetop, the dark brown layers of oil droplets will blacken and harden fully.
After you've gone to the trouble of applying these layers, take care to wash your cookware with non-abrasive scrubbers. Some experts will advise you avoid detergents to protect the finish. My belief is that a properly hardened coating won't wash away with soap. In the interest of sanitation, I prefer to use mild dish soap, let the pan dry, then apply a light coat of oil to prevent rust.
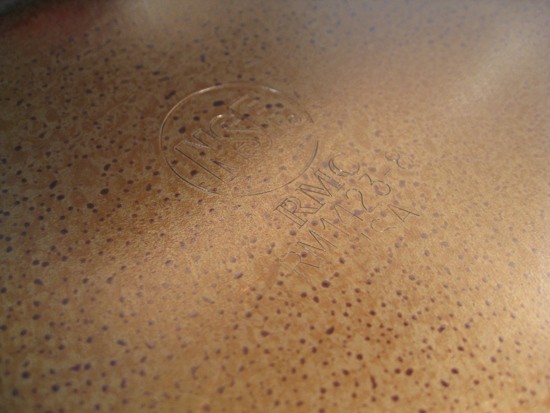
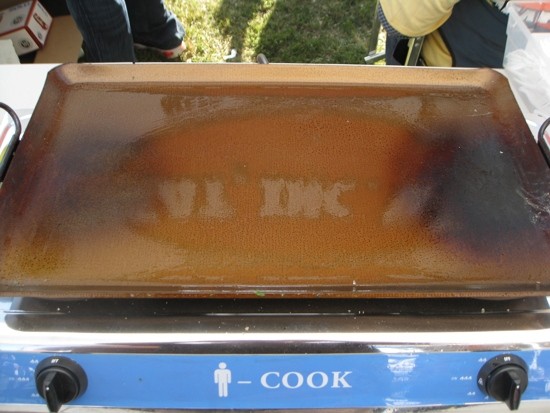
These photos show the results of this process, layer by layer.
Follow Stick a Fork in it on Twitter @ocweeklyfood or on Facebook!

